Thanks for checking out my blog! Here is a step by ste tutorial on how I made my most recent wreath! Low budget too!
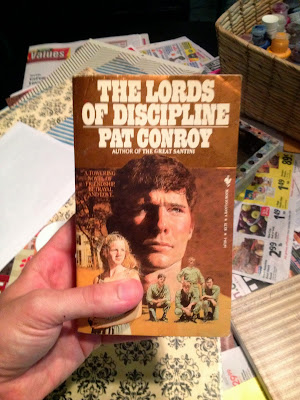
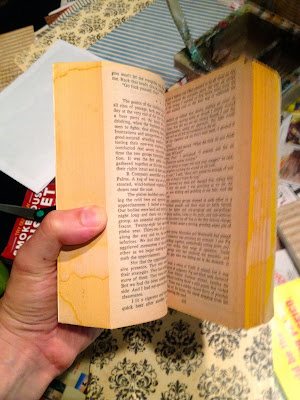
Supplies list: old book for its pages. I love the old paperbacks that turn yellow due to being printed on acidic paper. 1 wreath ring (you can also make your own out of a couple old wire coat hangers.) Ribbon. decorative elements - I used some fake berry branches I bought on discount and some cute hedgehogs made out of wood chips also %50 off. Lastly, I used a hot-glue gun and glue to put everything together.
Books for the book text pages. I used 73 pages for this project.
Ring made specifically for wreath making.
Ribbon.
Twigs with berries.
Little hedgehogs for decoration. adds a cute factor.
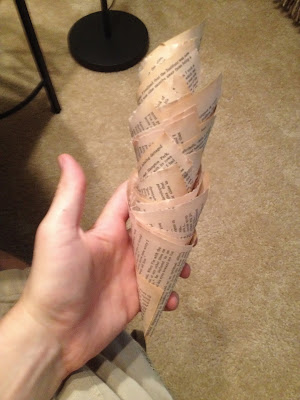
Once I have my supplies, the first thing I did was tear out pages of the old book and role them into cones like above. I made sure to consistently keep the torn edge out/up. I didn't want to make the wreath have clean cut edges.
This is a stack of cones. I made over 70 to complete the wreath.
I made the project primarily while looking/working from the back. I did this to maintain access to the ring.
Shot with my glue gun.
This is a picture after the first of three rings are complete.
Mid way through the 2nd ring.
After 2nd ring is complete.
After 3rd ring is complete.
I cut the ribbon and moved it around until I decided on a final position. I made it A-symetrical because looking on pinterest.com at wreaths inspired me to. Once I finalized the placement, I hot glued it into place on the back.
The last things to glue in were the three berry branches and two hedgehogs you see below. The wreath is hung over the door with the same ribbon I used to decorate the wreath with. Also when choosing a ribbon, using one with wired edges gives you more control over the way the ribbon hangs.


